Connecting to CDEK Pay system from CDEK company

Connecting to CDEK Pay system from CDEK company

June 13, 2024

First of all, we have to mention the most important instruments for any online shop based on any CMS: accepting payments and goods delivery. Few trading companies can boast of creating their own delivery service that is in demand on the market among both traders and buyers. But CDEK is one of a kind. It has completely eliminated the problem of goods transportation: more than 20 years of successful business, presence in 31 countries, over 4200 self-collection points, and more than 10 million active users. Impressive results!

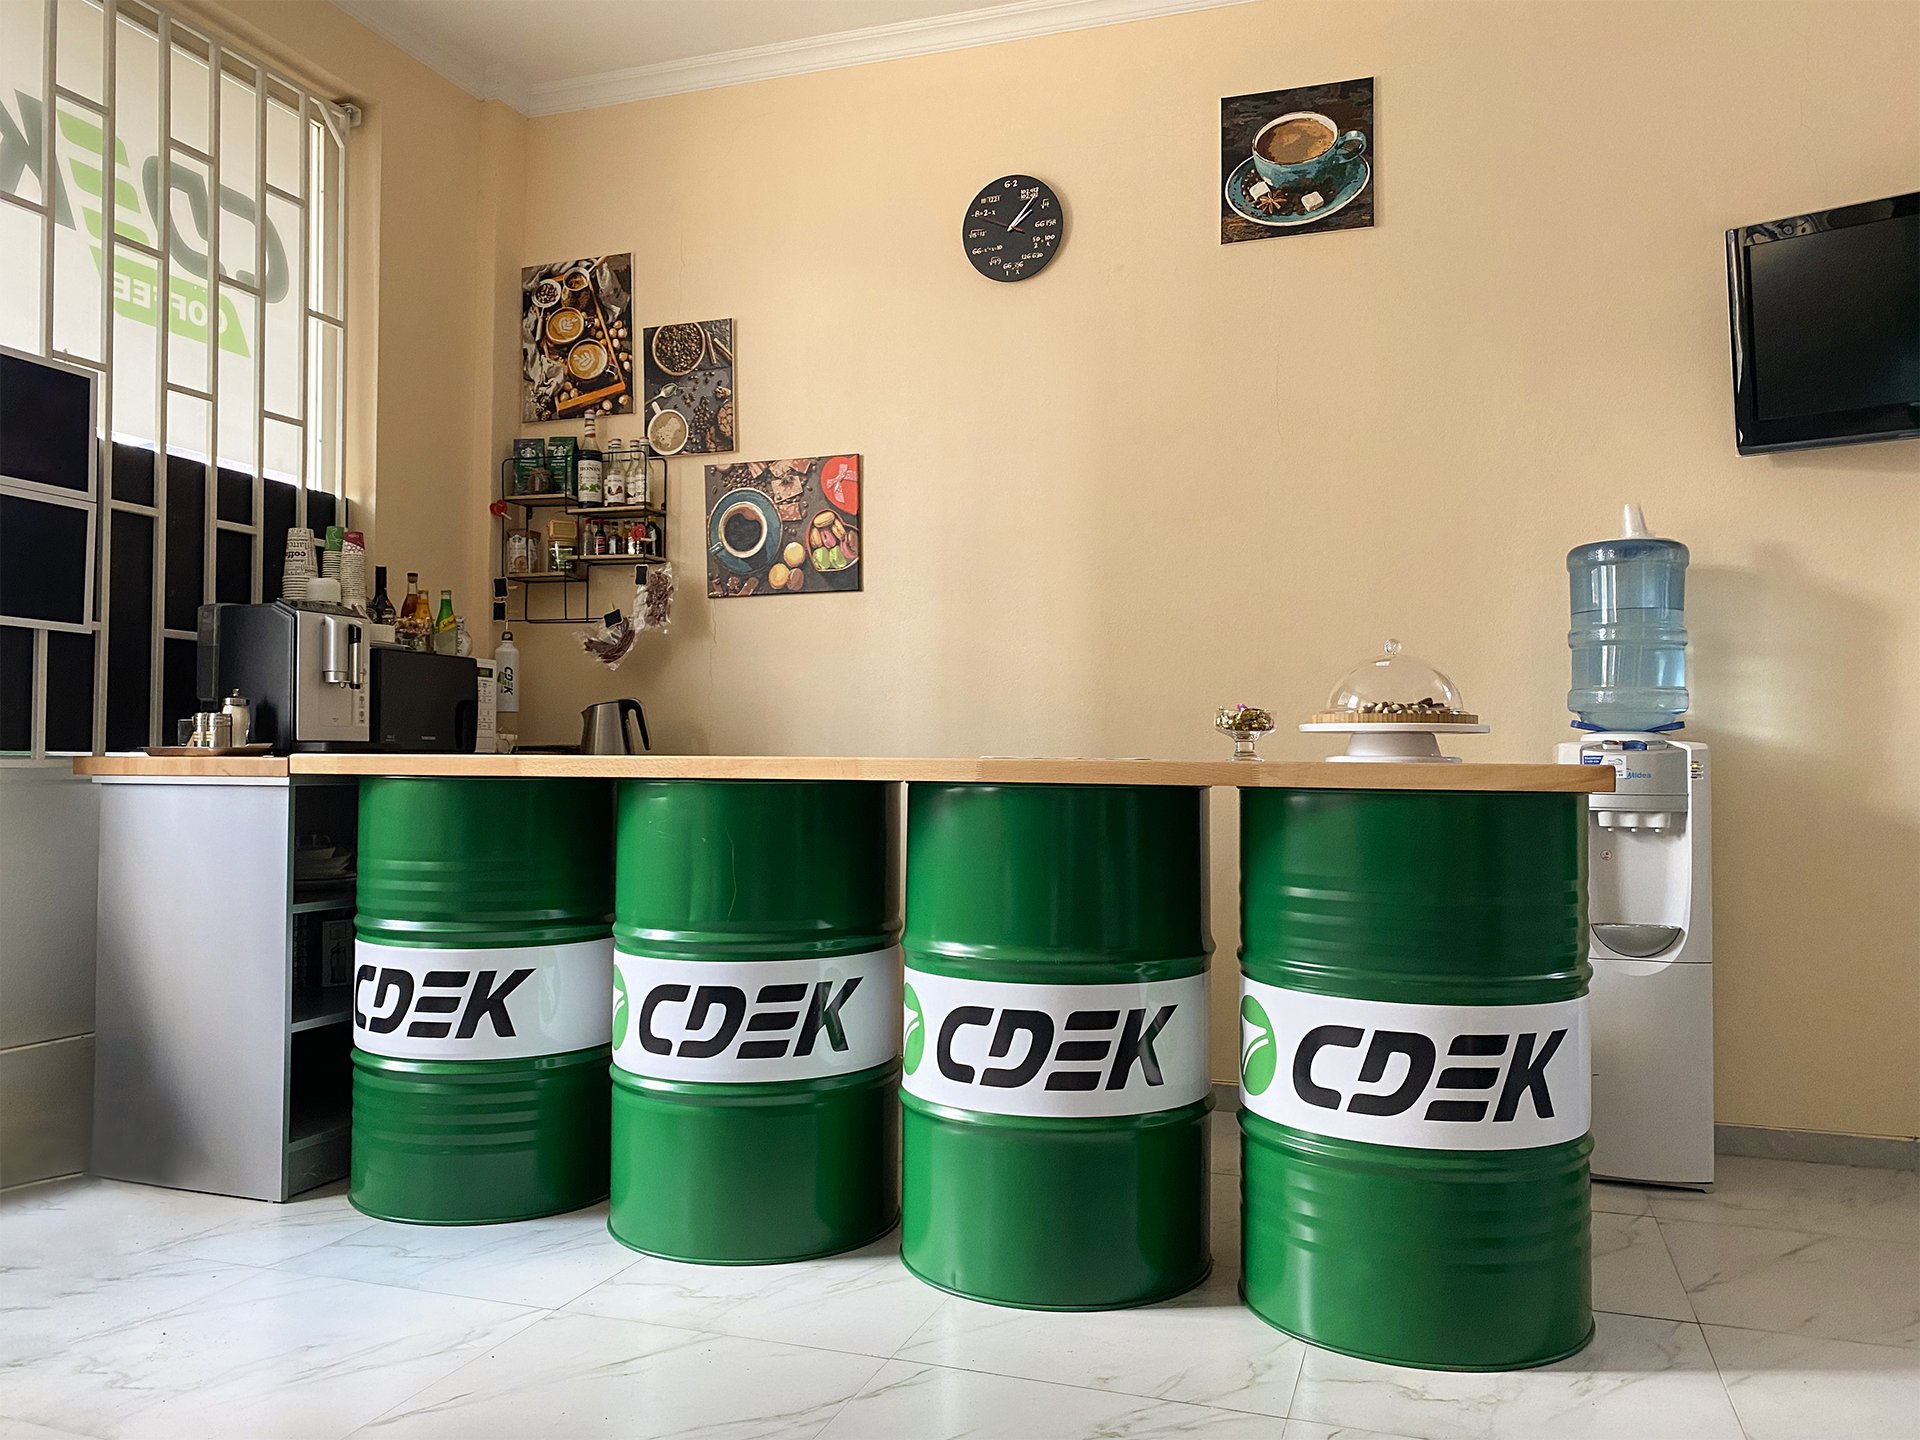
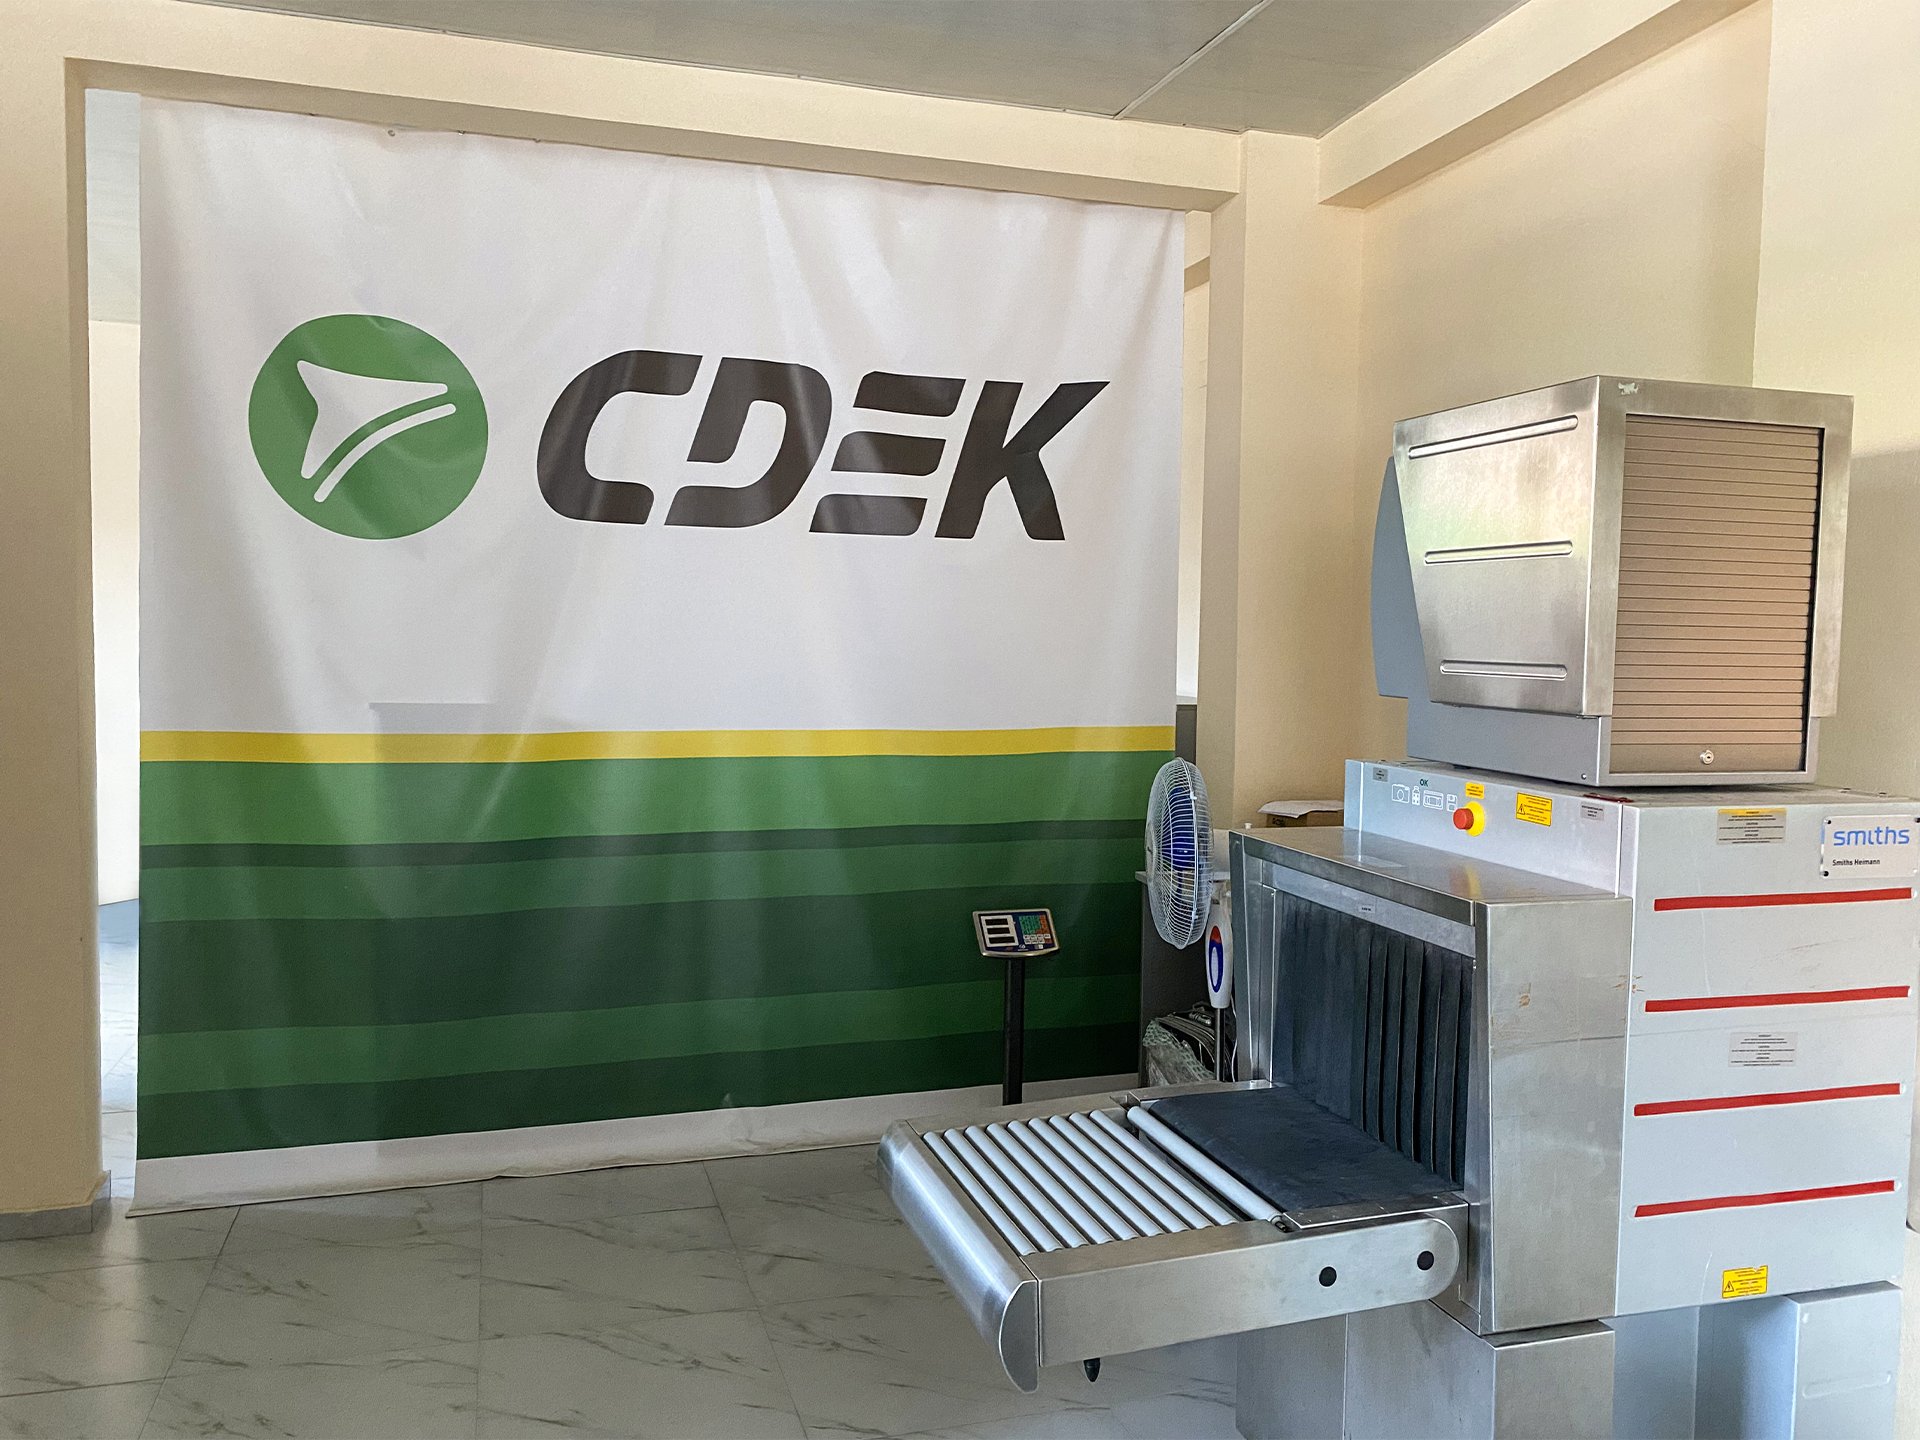
Office CDEK equipment
Cargo receipt and delivery point

OK, everything's clear about the delivery. But what about payments? The very company CDEK that is already familiar to us has created a payment system for online shops — CDEK Pay. Not only the client's goods, but also the client's money can and should be delivered. In this article, we will tell you how to connect several CMS to CDEK Pay at the same time.

CDEK Pay is a payment system, a subdivision of an international express-delivery logistics operator. It is the first payment aggregator in Russia, created by a logistics company and registered in the Central Bank of Russia registry. The main objective of creating their own service is to provide a payment solution for partners, clients, and third-party users, as well as the unification of payment technologies within the company.

HTML
HTML
JavaScript
JavaScript
PHP
PHP
MySQL
MySQL
OpenCart
OpenCart
CS-Cart
CS-Cart
HikaShop
HikaShop
VirtueMart
VirtueMart
Joomla
Joomla
WooCommerce
WooCommerce
WordPress
WordPress
InSales
InSales

The process of integration

The development started with the requirements specification, as usual, and we are grateful to the client for that. The lead developer thoroughly studied the examples and API integrations and compiled a detailed requirements specification, which was used to implement the first module, OpenCart. These are the tools that our engineers used.

01 IDE IDE PhpStorm, Visual Studio Code
02 ospanel Enviroment Open Server Panel
03 Debugger Debugger XDebug

The main problem that we encountered in the process of development was the lack of detailed documentation on the CMS for which we had to create integration modules. For instance, OpenCart. Its “Developers Guide” on the official website consists of only a couple of pages. Thus, the most laborious task was to sift through loads of forum pages and articles on various CMS, collecting piece by piece the required solutions. When we couldn't find the necessary information, we resorted to examining the CMS code, the code of other payment system modules, and step-by-step debugging to understand the inner logic of the CMS.

We have developed several integration modules for various CMS and SaaS platforms: OpenCart, CS-Cart, HikaShop for Joomla, VirtueMart for Joomla, WooCommerce for WordPress, and InSales. The same actions are repeated while developing plugins.

01 Plugin installation and setup Plugin installation and setup.
02 Payment initialization Payment initialization by the payment system.
03 Payment status check Payment status check, and also payments, including those on a cron schedule.
04 Refund initialization Payment refund initialization.
05 Delete plugin Deletion of plugin, clearing data.

Plugin installation and setup, as well as its removal, totally depend on the CMS used. But payment initialization, payment status checks, and payment refund initialization are identical. Thus, it was logical to create an SDK that can and should be used repeatedly to develop solutions for other platforms.

That's what we did. We implemented the cdekpayPaymentSDK class, in which we encapsulated all our experience in interacting with a payment server independent of CMS. The cdekpayPaymentSDK class is very simple and has three main public methods:

  • initPayment() — payment initialization;
  • getPayments() — payment or payments status check;
  • initRefundPayment() — payment refund initialization.

Most of the time, developers spend studying the CMS and its specifics mentioned earlier. The rest is mere formality: we implement, test, and launch.

Connecting CDEK Pay

The API of the payment system is quite simple. The description of all endpoints in Swagger is available at https://api.cdekfin.ru, which significantly speed up the development. For this, we are truly grateful to the developers of the payment system.

To place an order, first an array with order data is created, which includes the order number on the integration side (for instance, generated by a CMS), user email, login of the shop account registered on the CDEK Pay side, order amount, list of goods, and two links to the pages where the user is forwarded in case of a successful or unsuccessful payment. Based on the data of the resulting array, a string is formed according to certain rules. Based on this string and a secret key received from CDEK Pay, a digital signature using the SHA256 algorithm is formed. The signature is included in the data array formed earlier, and this array is sent in a POST request to the endpoint /merchant_api/payment_orders for payments in action mode or to /test_merchant_api/payment_orders for payments in test mode.

If the shop login is correct and the data array is signed properly, the user receives a 200 OK code and a JSON response containing the order number on the CDEK Pay side, along with the link to order payment. Then, the CDEK Pay order number is saved in the database on the integration side (for instance, in CMS) and the user is directed to the order payment page. It is necessary to include the payment link in the order information in case the payment fails and the user decides to pay again. The payment link can be sent to the user's email. Thus, the order data on the integration side is saved even before the actual payment takes place: the order is placed and given the “Pending” status.

If the payment is completed, the client is directed to the successful payment page, the link to which was sent earlier in the order data array. If the payment fails, the user is directed to the unsuccessful payment page.

From CDEK Pay, we receive the order information through a webhook. A webhook is a URL provided in the CDEK Pay personal account for an online shop, to which data is sent. Webhook processing on the integration side is done quite simply: an endpoint on the integration side is specified where the data can come.

$data = json_decode(html_entity_decode(file_get_contents("php://input")), true);

One line of code creates a $data array with the paid order parameters, which can be checked for validity, and then the status of the order can be updated in the online shop database. The data is signed with a secret key in the same way as when forwarding the order data to the CDEK Pay side.

When refunding, the data also comes through a webhook. The status of the order changes to “Refunded” and the amount of the refund is saved in the database. But what do we do if a user decides to pay the order using the link sent to their email at the very moment when the online shop is updating and the site is inoperative? At such a moment, the shop can't accept data through the webhook. Of course, CDEK Pay will continue its attempts to send the data to the seller. In individual cases, the data will never be received by the shop.

This tough case can be resolved with the order information endpoint, where the data comes not through a webhook but as a reply to a CDEK Pay request to check the order status. Fortunately, the order number is saved in the database. The endpoint (GET request) to receive the information about the payment in action mode is /merchant_api/payments, and in test mode, it is /test_merchant_api/payments. Control endpoint calls can be organised on a recurring basis, for instance, by using a cron job scheduler.

The main information sent to the specified endpoints includes the shop login, CDEK Pay order number, and SHA256 signature. In response, you get a list of order items with statuses and amounts, which are enough to update the merchant base.

CDEK Office Visitor area
Visitor area

OpenCart 2.3, 3.0, 4.0

For all versions of OpenCart, in the file admin/controller/payment/cdekpay.php (the path is specified for OpenCart 4; for other versions, the path will be slightly different), an install() method is created with the actions necessary during module installation. One such action is session setup.

$this->load->model("setting/setting");
// Настройка нужна, чтобы после редиректа со страницы оплаты пользователь не разлогинивался
$this->model_setting_setting->editValue("config", "config_session_samesite", "Lax");

The session setup is necessary so that after the redirect from the payment page back to the online shop, the user's session is saved, and logout does not occur. The session setup is relevant only in OpenCart 4. Similarly, we create a table with order data in the install() method.

$this->db->query("CREATE TABLE IF NOT EXISTS `" . DB_PREFIX . "cdekpay_order` (
        `id` int(11) NOT NULL,
        `status` varchar(50) DEFAULT NULL,
        `oc_order_id` int(11) DEFAULT NULL,
        `currency_code` CHAR(3) NOT NULL,
        `order_total` int(11) NOT NULL,
        `success_notified` boolean default false,
        `cancellation_requested_notified` boolean default false,
        `success_cancellation_notified` boolean default false,
        `cancelled_notified` boolean default false,
        `voided_notified` boolean default false,
        `refund_total` int(11) DEFAULT NULL,
        `updated_at` timestamp DEFAULT CURRENT_TIMESTAMP NULL on update CURRENT_TIMESTAMP,
        `created_at` timestamp DEFAULT CURRENT_TIMESTAMP NULL,
        PRIMARY KEY `id` (`id`)
    ) ENGINE=MyISAM DEFAULT CHARSET=utf8 COLLATE=utf8_general_ci;
");

This table will be used to store the correspondence between the CDEK Pay and OpenCart order numbers and other useful information about the order. For instance, stages of the order, refund amount, and user notifications on various stages of the order.

The OpenCart 4 version supports cron jobs out of the box. To add a job, you have to specify the following lines in the install() method. We send the name of the job, description of the job, frequency, and the path to the job to the addCron() method.

$this->load->model("setting/cron");
$this->model_setting_cron->addCron("cdekpay", "СДЭК Pay ежечасная проверка статусов заказов", "hour", "extension/cdekpay/cdekcronjob", true);

In addition to install() method we declare uninstall() method, which will clear what's been created in install().

$this->db->query("DROP TABLE IF EXISTS `" . DB_PREFIX . "cdekpay_order`;");
$this->load->model("setting/cron");
$this->model_setting_cron->deleteCronByCode("cdekpay");

The table created by the install() method is deleted and the cron job of the CDEK Pay module is deleted. Deleting the cron job is important only for the OpenCart 4 version.

Unlike OpenCart 2.3, versions 3 and 4 support the Twig engine, convenient for making templates. The main method that we will need for integration is the order status change method. In OpenCart, it is done in the following way.

$this->load->model("checkout/order");

First, we load the model checkout/order.

$this->model_checkout_order->addHistory($cdekPayOrderInfo["oc_order_id"], $payment_cdekpay_setting["order_status"]["completed"]["id"], $comment, true);

Then we use the addHistory() method for OpenCart 4.0 (for version 2.3, it will be addOrderHistory()), sending the parameters: OpenCart order number, new order status, a comment, and a Boolean value depending on whether we need to inform the user about a change of status. OpenCart can correct it automatically depending on the settings of order statuses.

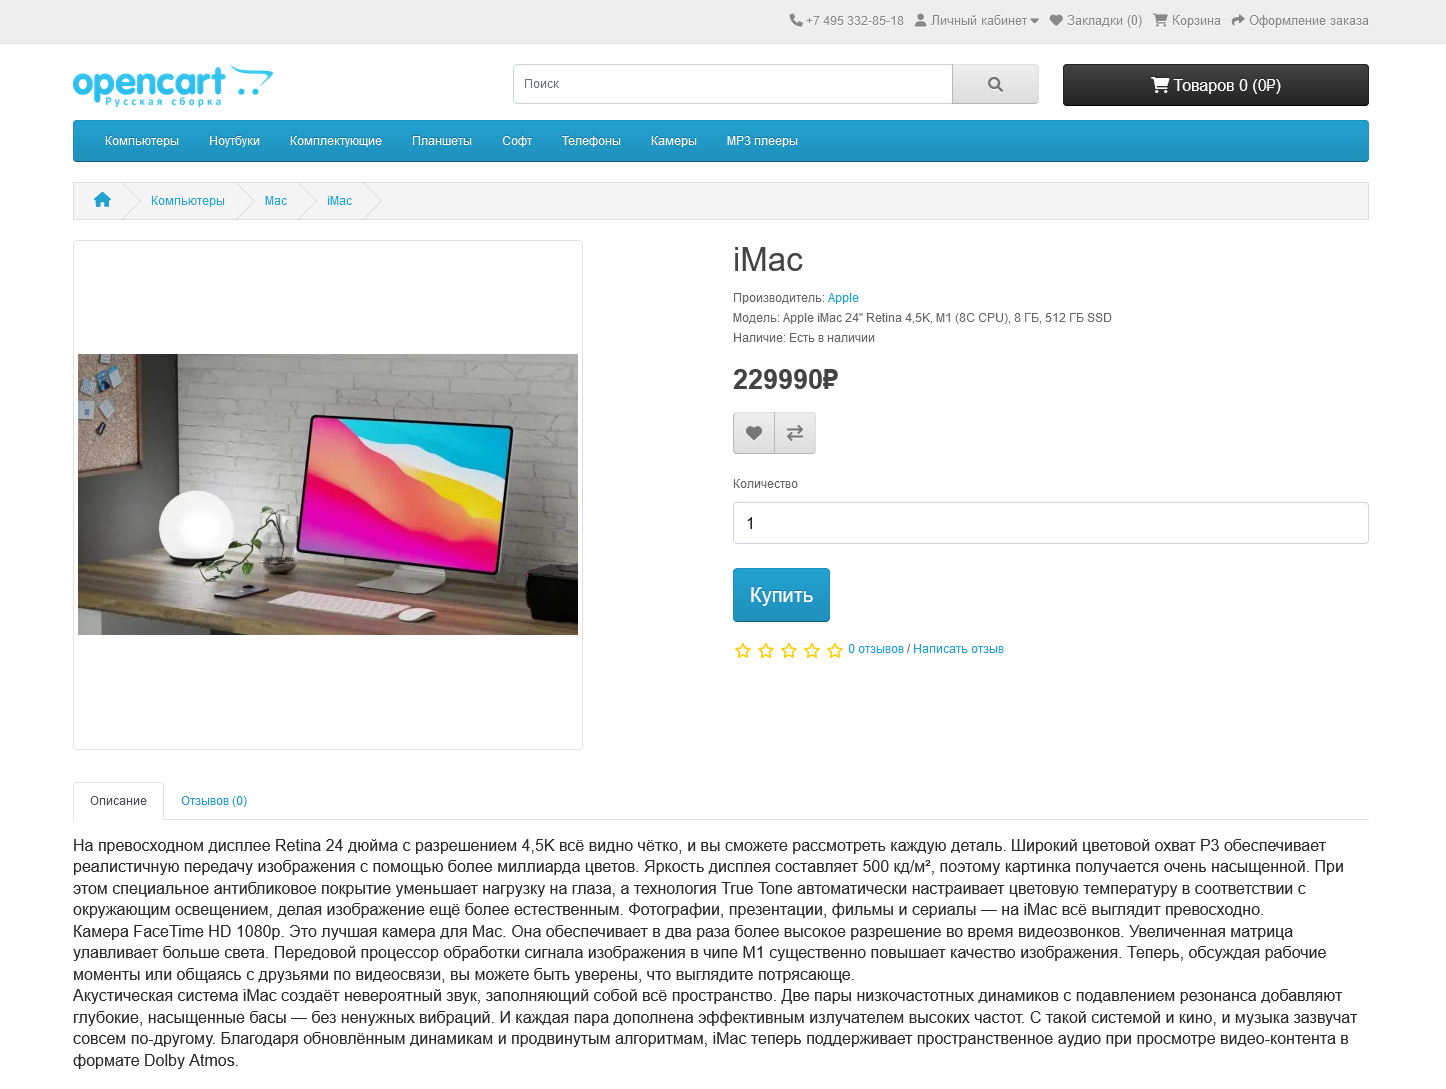
OpenCart product card
Product card OpenCart

CS-Cart 4.16

CS-Cart is a Russian solution for e-commerce suitable for online shops of any size. CS-Cart was perhaps the most convenient CMS for connecting a payment module due to its good documentation (it was easy to find the needed methods) and nice design out of the box, which did not require searching for themes.

Unlike OpenCart, you don't have to create a separate table to store payment statuses. In CS-Cart, there is a  functionfn_update_order_payment_info used to add user information about the payment. For instance, on successful order placement, we call this function.

fn_update_order_payment_info($order_id, [
    "cdekpay_order_id" => $data["order_id"],
    "payment_link" => $data["link"],
    "success_notified" => "no",
    "cancellation_requested_notified" => "no",
    "success_cancellation_notified" => "no",
    "cancelled_notified" => "no",
    "voided_notified" => "no",
]);

In the example, the CDEK Pay order number is saved, as well as the link for payment and the state of user status notifications. If we need to get the saved payment link, for instance, we call the following code.

$order_info = fn_get_order_info($order_id);
$url = $order_info["payment_info"]["payment_link"];

We have figured out the updating of payment information. Now, as we interact with the API and the status of the order changes, we need to be able to update this status. That's what the fn_change_order_status function is for.

fn_change_order_status(
    $cdekpay_order["order_id"],
    $processor_settings["statuses"]["paid"]
);

The variable $processor_settings contains the settings of the payment processor, which can be retrieved in the following way.

$payments = fn_get_payments([processor_script" => "cdekpay.php"]);
$payment_id = array_key_first($payments);
$processor_settings = unserialize($payments[$payment_id]["processor_params"]);
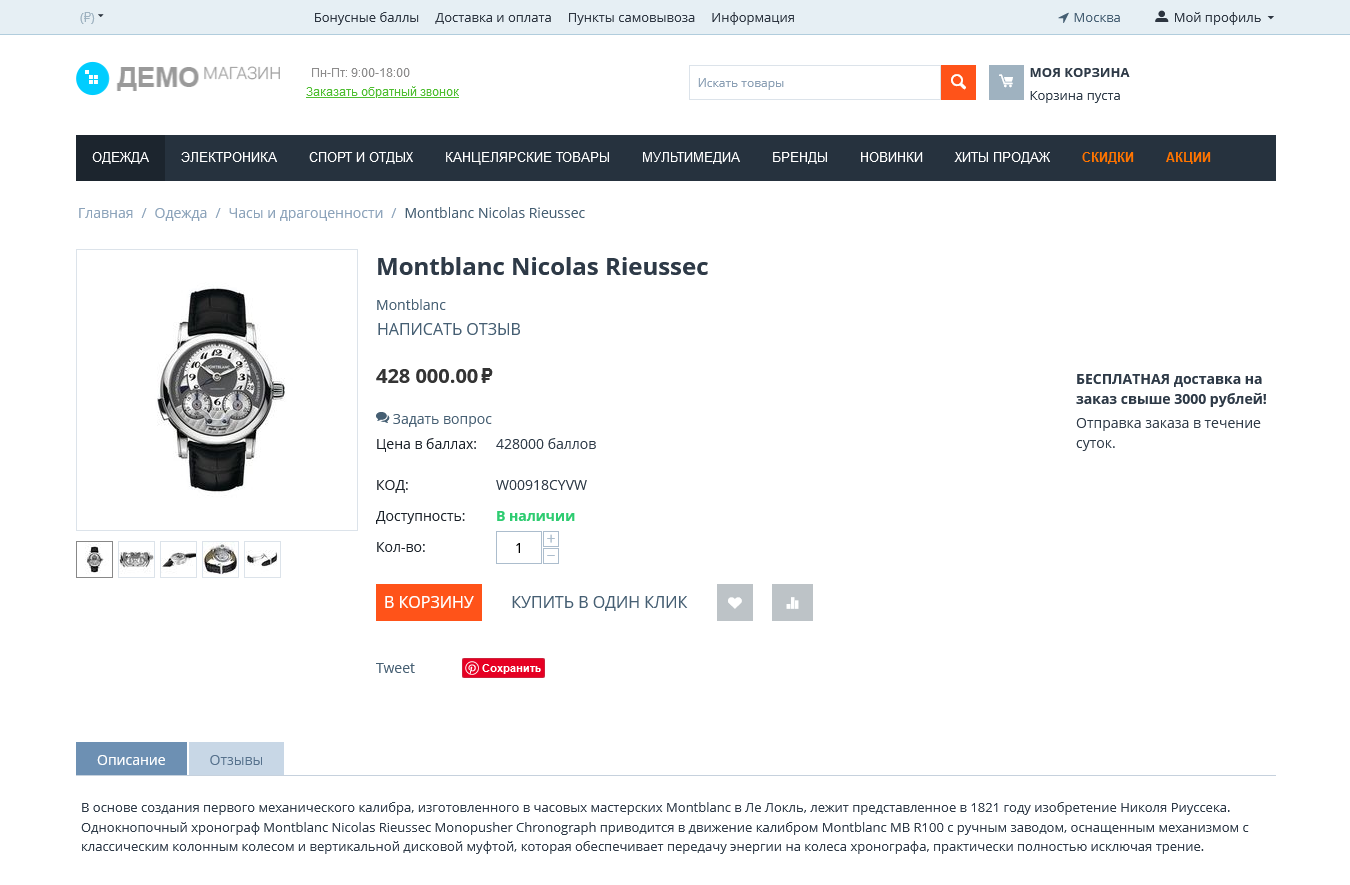
CS-Cart product card
Product card CS-Cart
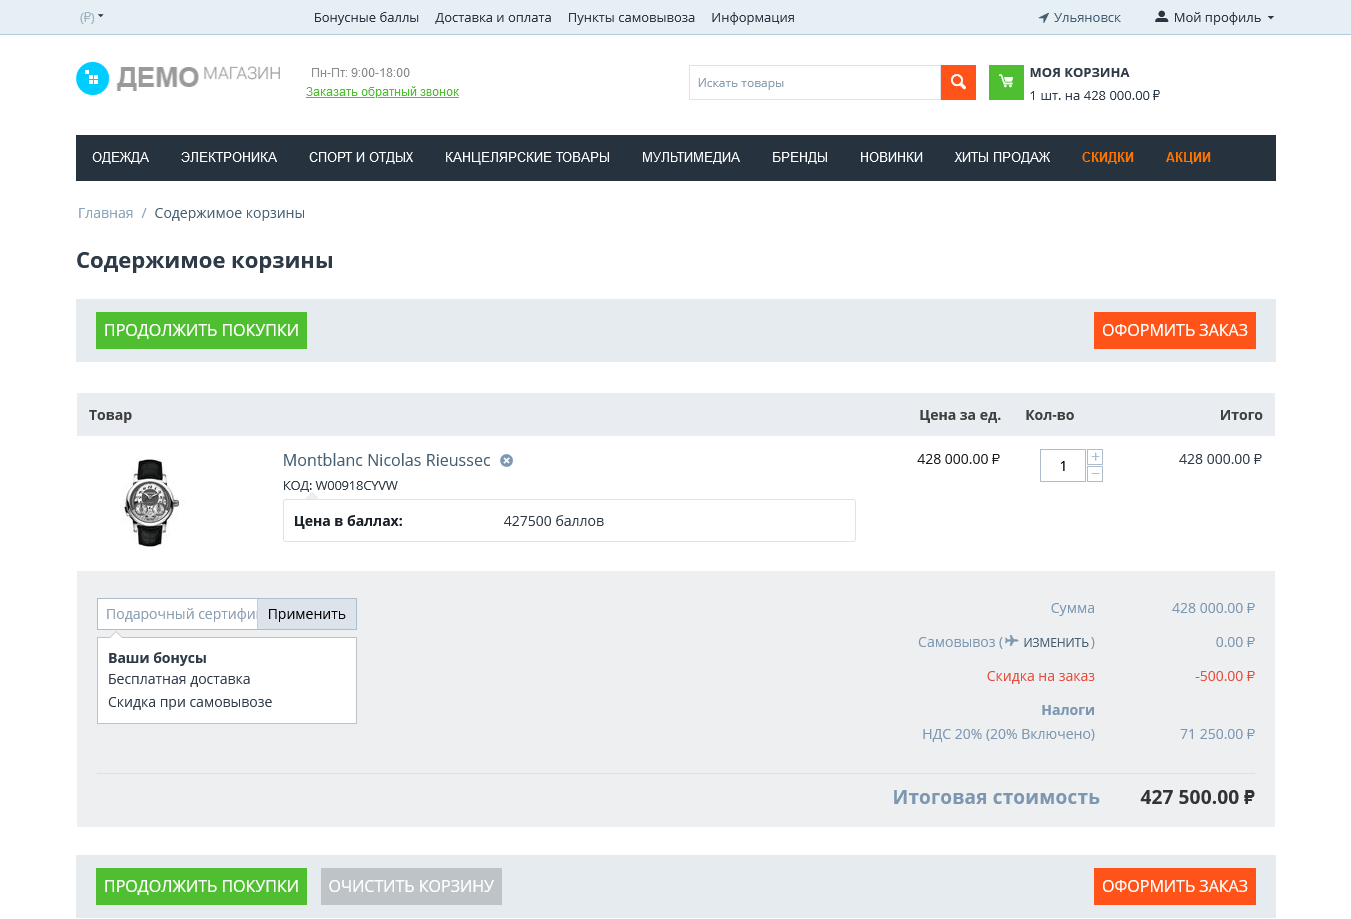
CS-Cart cart
Cart CS-Cart

VirtueMart 4 для Joomla 3

A free solution for e-commerce with open-source code, VirtueMart can't be used separately because it is a plugin for Joomla CMS. A small team of developers, only five people, work on VirtueMart, and there is a small community that takes part in the project in various ways.

In VirtueMart, there is no such freedom for declaring payment module methods as in OpenCart. The class of the payment module is inherited from the abstract class vmPSPlugin, which in turn is inherited from another abstract class. Thus, there is a method plgVmOnShowOrderBEPayment for displaying order information on the backend side. It is this very method that we are going to override in the payment module to expand the displayed order information, for instance, to include payment information.

A table of payment information in VirtueMart is created in a certain way. In the builder, it is indicated:

$this->tableFields = array_keys($this->getTableSQLFields());

Then, the getTableSQLFields method is defined, which contains the payment and order fields and, in our case, looks the following way.

function getTableSQLFields()
{
    $SQLfields = array(
        "id"                              => "int(11) unsigned NOT NULL AUTO_INCREMENT",
        "virtuemart_order_id"         	  => "int(11) UNSIGNED DEFAULT NULL",
        "cdekpay_order_id"            	  => "int(11) UNSIGNED DEFAULT NULL",
        "order_number"                	  => "char(64)", // VirtueMart string order number
        "virtuemart_paymentmethod_id" 	  => "mediumint(1) UNSIGNED DEFAULT NULL",
        "paylink"                     	  => "char(255) DEFAULT NULL",
        "status"                      	  => "char(255) DEFAULT NULL",
        "currency_code"               	  => "char(3) NOT NULL DEFAULT 'TST' ",
        "total"                       	  => "bigint UNSIGNED DEFAULT NULL",
        "success_notified"            	  => "boolean DEFAULT false",
        "cancellation_requested_notified" => "boolean DEFAULT false",
        "success_cancellation_notified"   => "boolean DEFAULT false",
        "cancelled_notified"          	  => "boolean DEFAULT false",
        "voided_notified"             	  => "boolean DEFAULT false",
        "refund_total"                	  => "bigint UNSIGNED DEFAULT NULL",
    );

    return $SQLfields;
}

The function updateStatusForOneOrder is used to update the order status.

$orderModel = new VirtueMartModelOrders();
// получаем заказ по номеру заказа VirtueMart
$vmOrder = $orderModel->getOrder($oldOrder["virtuemart_order_id"]);
// берем статус «Оплачен» из настроек модуля
$vmOrder["order_status"] = $this->cdekpaySDK->getStatuses()->paid;
// обновляем статус заказа
$orderModel->updateStatusForOneOrder($oldOrder["virtuemart_order_id"], $vmOrder);

HikaShop для Joomla 3

HikaShop is a Joomla-based e-commerce solution with a free basic version and two paid versions with enhanced functionality. Developing payments for HikaShop is similar to developing a module for VirtueMart. Just like in VirtueMart, there is a basic class for the payment module, hikashopPaymentPlugin, in HikaShop whose methods must be implemented.

To prevent DDoS attacks, the project lead developer introduced limits on the parallel running of cron jobs in the payment module. The cron jobs themselves regularly query CDEK Pay to check payment statuses in case a reply on successful payment or order cancellation wasn't received through the webhook. Later, it is planned to include this functionality in other payment modules.

First of all, we need a table to store the statuses of cron jobs. For this purpose, we define a table in the cdekpay.install.sql file in the following way:

CREATE TABLE IF NOT EXISTS `#__hikashop_cdekpay_cron_jobs` (
    `job_name` varchar (256) NOT NULL,
    `job_process_id` int(10) unsigned NOT NULL,
    `job_started_at` datetime NOT NULL DEFAULT current_timestamp(),
    `job_completed_at` datetime NULL,
    `job_error` text NULL,
    PRIMARY KEY (`job_name`)
) ENGINE=MyISAM DEFAULT CHARSET=utf8;

To create a table during module installation, we need to add the following code in the configuration file cdekpay.xml.

<install>
    <sql>
        <file driver="mysql" charset="utf8">cdekpay.install.sql</file>
    </sql>
</install>

When a cron job starts or receives an external request to start, we need to calculate how much time has passed since the previous start. To protect against attacks, the frequency of starts is limited so that the delay amounts to a minimum of 60 minutes.

InSales

There is no need to install InSales anywhere, since it is a SaaS which has:
01 Developer interface Developer interface available.
02 Documentation Comprehensive documentation on application implementation.
03 Settings Add-ons enhance the main application.

Practically, we develop a REST API microservice to interact with the InSales API. The CDEK Pay integration code is not installed anywhere but is published on its server and administered independently. Then we register in the referral program. An empty application section appears in the personal account. Registering an application is very easy: think of a unique name, fill in the description, and configure accesses needed for interaction with InSales. For the test stage, you can set full access rights. However, when publishing the application in the catalogue, you shouldn't allow full access without apparent necessity. The more rights you request, the more attention it will get from the moderator, and the higher the probability that the add-on will be declined.

When registering the add-on, you should specify:

  • Install URL: https://insales.cdekfin.ru/install
  • Uninstall URL: https://insales.cdekfin.ru/uninstall
  • Authentication URL: https://insales.cdekfin.ru/auth

The required URLs may baffle you at first. We have just conceived an application, so naturally, there are no URLs that actually exist. But don't worry; we will just fill in the fields with random values to be corrected later. We click the “create” button, and the application is integrated into InSales.

A user, Stephan, created a shop called supershop.com in InSales and decided to install an extension from the catalogue into it. Stepan clicks on “install” and InSales does the following:

  • It generates a token, which is a single-use string with no need to be stored.
  • It sets a password for connecting to the API: password = MD5(token + secret_key), where secret_key is the application secret key generated on registering the application. Each shop has its own password.
  • It sends a GET request to the install URL with the token, shop, and insales_id parameters, where shop is the shop address (supershop.myinsales.ru) and insales_id is the internal identifier of the shop which doesn't change.

InSales will think that the application is successfully installed if it gets the reply 200 OK. Until then, you cannot call API requests.

public function install(Request $request)
{
    $validator = Validator::make($request->all(), [
        "insales_id" => ["required", "numeric"],
        "token"      => ["required", "string"],
        "shop"       => ["required", "string"],
    ]);

    if ($validator->fails()) {
        return response()->json("HTTP_BAD_REQUEST", Response::HTTP_BAD_REQUEST);
    }

    $isInstalled = AppInSales::install($request->shop, $request->token, $request->insales_id);

    if ($isInstalled) {
        return response()->json("OK", Response::HTTP_OK);
    }

    return response()->json("", Response::HTTP_INTERNAL_SERVER_ERROR);
}

Deleting the add-on is carried out in the same way. If the add-on replies 200 ОК, the application is considered to be deleted. On pressing the corresponding button, inSales will send a request to the add-on:

https://insales.cdekfin.ru/uninstall?shop=shop&token=password&insales_id=insales_id, where ‘password’ is the application password; ‘shop’ is the shop address in the subdomain myinsales.ru; ‘insales_id’ is the internal unique shop identifier.

InSales Product card
Product card for InSales

WooCommerce for WordPress

WordPress CMS, unlike OpenCart CMS, is first and foremost a blog content management system and has no hint of e-commerce. But don't despair! Developers from Automattic worked on correcting this situation and created a great plugin, WooCommerce, which enhances the standard WordPress capabilities to a full-fledged online shop. That means the shop exists; we only need to set it up. We won't go into elaborate details of setting up WooCommerce in this article.

WordPress is a universal CMS for websites, and WooCommerce is a universal international plugin for online trading for the WordPress CMS. It is known that every country has its own ‘difficulties’ in the sphere of trade: laws, cash registers, taxes, delivery, and payment methods. It is simply impossible for the Automattic company to implement solutions for all countries; that is why they created a project with a ‘consistent’ data model and rather good documentation. As programmers, we implemented a delivery and payment method for the Russian Federation.

There are peculiarities of implementation that pertain to the CMS itself. For those who haven't programmed in WordPress, an ‘action’ is a set of certain actions on some entity, and a ‘filter’ is also an action but one that changes the received content. But that's not all. To integrate filters and actions, you also need an entry point to the application, i.e., a particular place or condition on which the action or filter logic will be executed. The connection point is called a ‘hook’; we use hooks to latch on to particular parts of the executing code.

Another feature of development under WordPress is the dependence on external extensions. The extension wouldn't run without activation. But in our case, we are not creating a plugin for CMS but a new way of payment inside WooCommerce. This means the logic hooks into the WooCommerce code. That's why we are going to check the CDEK Pay plugin activation and its status while activating the payment plugin in the activate_cdekpay method with the help of the check_woocommerce_status_cdekpay method. If it turns out that WooCommerce is not installed, we display a message and offer to install it using the link.

function activate_cdekpay($network_wide) 
{
    // Check, that Woocommerce is installed and active
    if (!check_woocommerce_status_cdekpay()) {
        stop_activation_cdekpay();
    }

    require_once plugin_dir_path( __FILE__ ) . "includes/class-cdekpay-activator.php";

    if( is_multisite() && $network_wide ) {
        global $wpdb;

        $blogs = $wpdb->get_col("SELECT blog_id FROM $wpdb->blogs");
        foreach( $blogs as $blog_id ) {
            switch_to_blog($blog_id);

            Cdekpay_Activator::activate();

            restore_current_blog();
        }
    } else {
        Cdekpay_Activator::activate();
    }
}

The method check_woocommerce_status_cdekpay returns true or false which signifies the presence of an activated WooCommerce plugin.

function check_woocommerce_status_cdekpay() 
{
    $woocommerce_plugin = "woocommerce/woocommerce.php";
    if (in_array($woocommerce_plugin, get_option("active_plugins"))) {
        return true;
    }

    if (!is_multisite()) {
        return false;
    }

    $plugins = get_site_option("active_sitewide_plugins");

    return isset($plugins[$woocommerce_plugin]);
}

If the check wasn't successful, the stop_activation_cdekpay method is called, which reports the termination of plugin activation.

function stop_activation_cdekpay() {
    deactivate_cdekpay();

    $error_message = "Плагину CDEK Pay требуется установленный и активированный плагин ";
    $error_message .= "<a href=\"https://wordpress.org/extend/plugins/woocommerce/\" target=\"_blank\">WooCommerce</a>. ";
    $error_message .= "<a href=\"/wp-admin/plugins.php\">Вернуться</a>";
    $error_message = __($error_message, "cdekpay");

    wp_die($error_message);
}

In general, developing under WooCommerce was enjoyable as there was enough documentation and examples as in the case of CS-Cart.

info

We'll connect your site to CDEK Pay and other payment systems